No ChatGPT Plus? No problem! Here’s how you can bring the same Assistant to your Microsoft Suite.

Ever since OpenAI dropped the GPT Assistant at their Open AI DevDay, I have been on a mission, scouring the internet for the GPT Assistant integration with Power Automate. Imagine having your very own custom GPT Assistant seamlessly integrated into the Power Platform. That’s the dream I decided to chase.
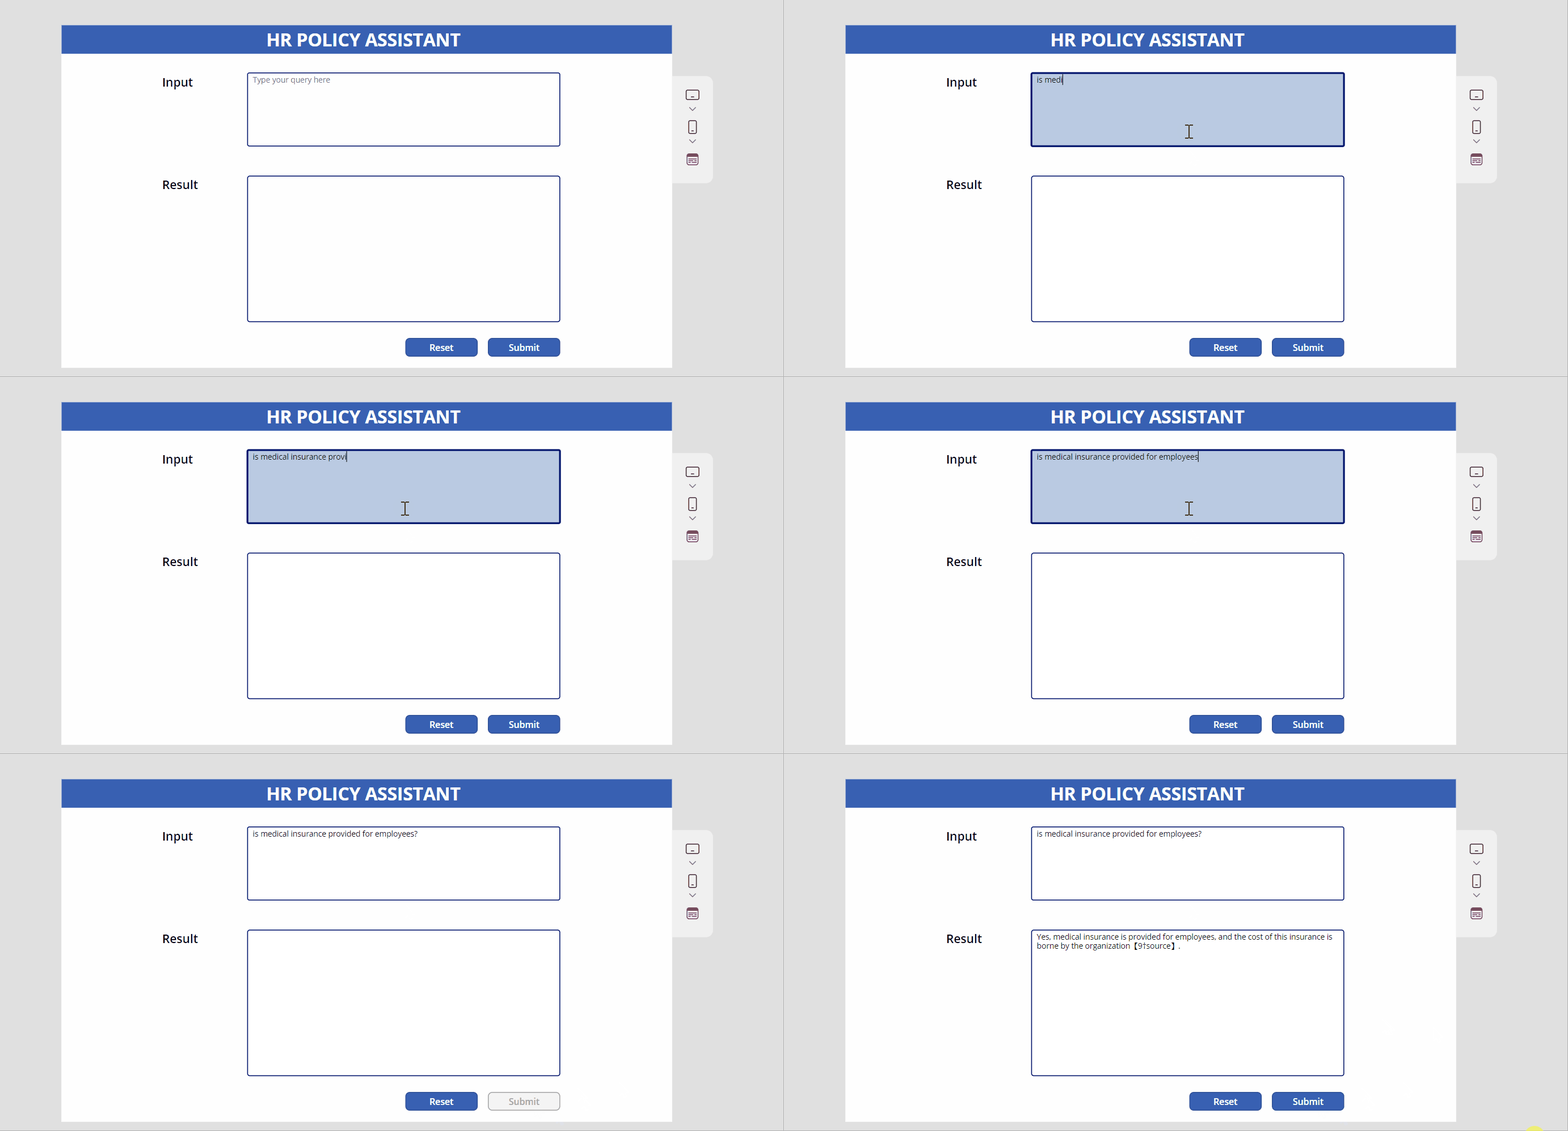
While there are various ways to implement this, I found a simple and straightforward method. Let’s imagine a real-life situation: think of a bot in the HR department answering questions about company rules. When an employee asks a question, the bot uses OpenAI to check the company’s policies, and then it gives a customized response. I made this happen by using Power Apps, Power Automate, and the new Open AI Assistant API. Take a look at the demo to see how it works!
Note: Even though you don’t need the Chat GPT Plus subscription, you still have to get credits to use the Open AI API. Just go to openai.com, make a developer account, and get your API key. If it’s your first time signing up, you’ll get a free $5 credit. This credit is good for around 100 API calls (or maybe more, depending on how many tokens you use), which is plenty to try things out. Check out this step-by-step article on how to get your API key.
Before we start building, let us quickly understand what the Assistant API can do. According to Open AI.
“With the Assistants API, you can create AI assistants for your apps. These assistants follow your instructions, using models, tools, and knowledge to answer user questions. Currently supporting Code Interpreter, Retrieval, and Function calling tools, the API is set to introduce more OpenAI-built tools, and you’ll even get the chance to bring your own tools to the platform”
Open AI
And here’s a quick overview of how the Assistant API works.
- Create an Assistant: Define your custom instructions, pick a model, and if needed, throw in tools like Code Interpreter, Retrieval, or Function calling.
- Start a Conversation: When a user initiates a chat, create a Thread to keep things organized.
- Ask Away: Add Messages to the Thread as the user fires off questions.
- Trigger the Magic: Hit the button to run the Assistant on the Thread, and voila! Watch the responses flow in as the relevant tools automatically do their thing.

Now that we have got that out of the way, lets take a look at how our final flow looks like (I have included screenshots of two flows, one with the Power Apps integration and one without). Its always good to start something with the end in mind.
Pro tip: Start with a manual trigger before diving into Power Apps.
The complete flow in Power Automate that can be triggered manually.

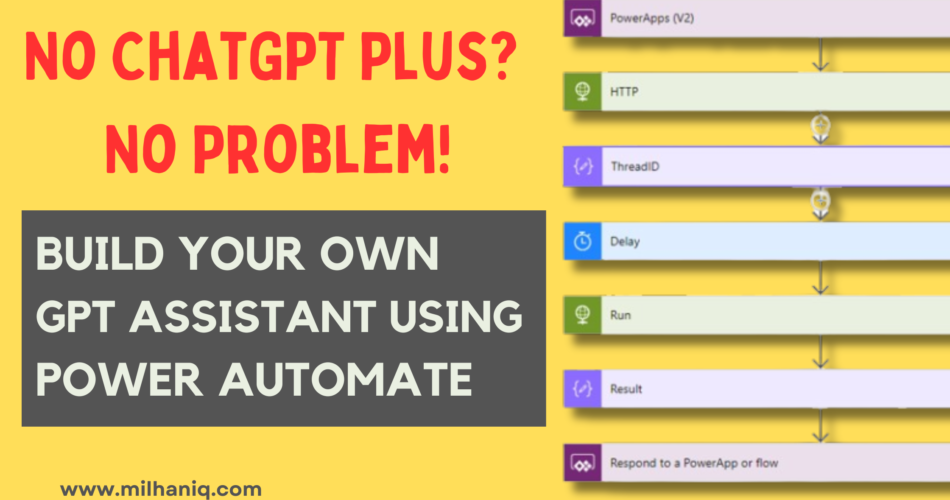
The complete flow in Power Automate that uses Power Apps as the interface.

While I chose Power Apps as the front end, you have the flexibility to use Teams or any other application of your choice. Since we are going to focus on Power Automate mainly, we won’t be diving into setting up a PowerApps form. If you would like to learn about Power Apps set up, then I recommend, you checking out this post.
Here’s what you need to get started:
- Open AI API access
- Power Automate (you need access to the Premium connectors)
- Power Apps
- You will need some basic knowledge of the Power Platform to follow along
STEPS
- Go to https://platform.openai.com/assistants to build your Assistant. Enter the details shown in the screenshots. I used the instruction “you are an HR chat bot that gives helpful information,” but feel free to get more creative. Also, download a sample compensation policy document from here and add it to the Assistant.


- Take note of the Assistant ID you’ve just created.
- Our next move involves creating threads (as explained earlier, every time you want to start a conversation with the assistant, a thread needs to be created), each capable of holding multiple messages. In our scenario, we’ll stick to one message per thread, then run the thread and display the output.
- Open make.powerautomate.com and click on Instant flow, select the PowerApps v2 as the trigger, give the flow a name and hit start.
- We need to create an input that will store the user query from the Power Apps form. Lets label it txtinput.

- Create a thread (the conversation starter) and pass the query using an HTTP connector.

Use the below json on the body of the HTTP connector.
{
  "assistant_id": "<assistant ID>",
  "tools": [
    {
      "type": "retrieval"
    },
    {
      "type": "code_interpreter"
    }
  ],
  "thread": {
    "messages": [
      {
        "role": "user",
        "content": “<inputname>”
      }
    ]
  }
} - Create a compose action to capture the threadID from the previous HTTP action. Use the expression body(‘HTTP’)[‘thread_id’].

- Add a 20-second delay or use a Do Until loop to wait for the run to complete.
- Create another HTTP “Get” action, passing the threadID in the action’s URL to display the message. I call it “Run,” but you can choose any name.

- Create a Compose action to store the result. Use the expression body(‘Run’)[‘data’][0][‘content’][0][‘text’][‘value’].
- Add the respond to Power Apps connector, define an output name (I called it txtoutput), and save the flow.

That’s it we have created the Power Automate flow with GPT Assistant functionality, you can go ahead, save the flow and test it or you can connect it to Power Apps.

Let’s hop over to Power Apps and follow the screenshots to create a simple form.
- Click on the Blank app and create a Blank canvas app.


- Add two text boxes (name it txtinput for the input text box and name txtResult for the result textbox) and two labels as shown below.

- Click on the Submit button, choose the Onselect property and write the below expression.
Set(flowsuper,'PowerApp-GPTAssistant'.Run(txtInput.Text));

UpdateContext({var11: flowsuper.txtoutput});
Reset(txtResult)
- Similarly click on the Reset button and add the following code
Set(flowsuper,'PowerApp-GPTAssistant'.Run(txtInput.Text));

UpdateContext({var11: flowsuper.txtoutput});
Reset(txtResult)
- Now, click on “run,” ask any question about the policy document we uploaded, and it will give you the answer based on the document.


We looked at a real-life HR example to see how awesome this integration is. Picture putting your own amazing assistant into your apps using Power Automate – it’s like having a tech wizard right at your fingertips!
